Hiperhidrosis, transpiración profusa de la piel
Category:
TIPS
6 de mayo de 2024


The golden hour, that magical time just after sunrise and before sunset, is a favorite among photographers for its warm, soft light that can make any subject look stunning. As a photographer, harnessing the beauty of golden hour can elevate your work to new heights. Here's a guide to capturing the magic of golden hour in your photos.
1. Understanding Golden Hour
Golden hour refers to the period shortly after sunrise and before sunset when the sun is low on the horizon. During this time, the light is diffused and softer compared to the harsh midday sun. The result is warm tones, long shadows, and a natural glow that can add depth and dimension to your photos.
2. Planning Your Shoot
Timing is crucial for golden hour photography. Use apps like Golden Hour One or PhotoPills to track sunrise and sunset times specific to your location. Arrive at your location at least 30 minutes before golden hour starts to set up your gear and find the best angles. This preparation will help you make the most of the limited time you have.
3. Choosing the Right Settings
Shooting during golden hour often requires adjusting your camera settings to capture the light effectively. Here are a few tips:
Aperture: Use a wide aperture (f/2.8 - f/5.6) for portraits to create a beautiful bokeh effect. For landscapes, a narrower aperture (f/8 - f/11) will ensure more of the scene is in focus.
Shutter Speed: Since the light is softer, you may need to slow down your shutter speed to let in more light. Use a tripod to avoid camera shake.
ISO: Keep your ISO as low as possible to reduce noise. Start with ISO 100 or 200 and adjust as needed.
4. Composition Techniques
Golden hour offers unique lighting opportunities that can enhance your composition:
Silhouettes: Position your subject between you and the sun to create dramatic silhouettes with a glowing backdrop.
Backlighting: Place the light source behind your subject to achieve a beautiful halo effect around the edges.
Lens Flare: Embrace lens flare by shooting directly into the sun for a dreamy, ethereal effect.
5. Capturing Landscapes
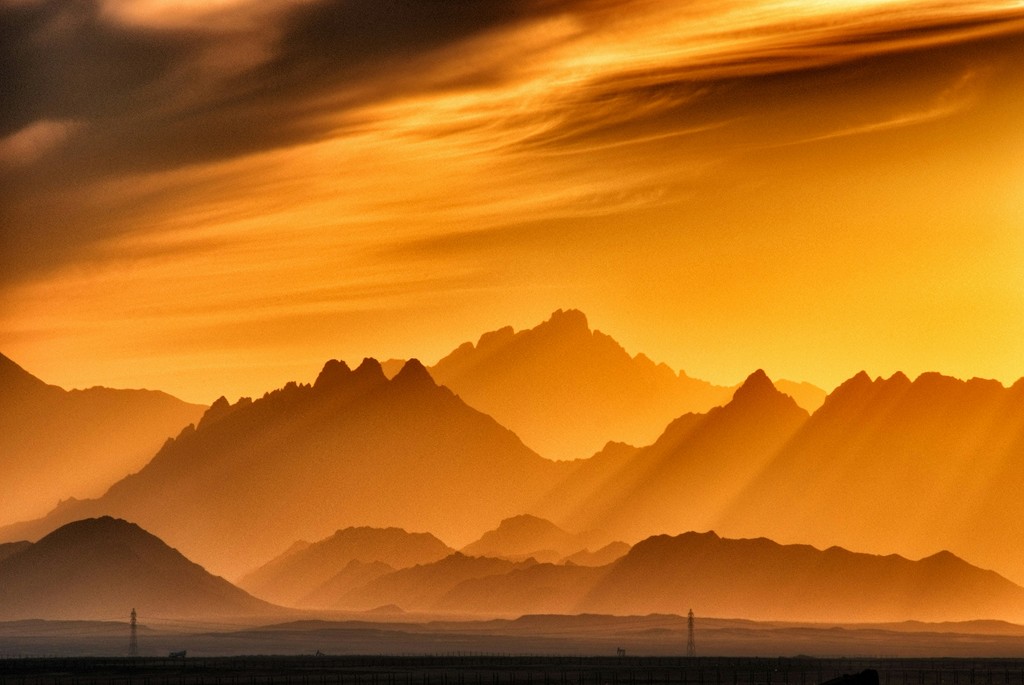
For landscape photography, golden hour can transform a scene into something truly magical. Look for elements like water, which can reflect the golden light, or mountains and trees that cast long, interesting shadows. Experiment with different angles and perspectives to capture the landscape's beauty fully.
6. Editing Tips
Post-processing can enhance the natural beauty of your golden hour shots. Use editing software to adjust the warmth and saturation to emphasize the golden tones. Be careful not to overdo it, as subtle adjustments can often have the most impact. Enhance shadows and highlights to add depth and contrast to your images.
Conclusion
Golden hour is a favorite among photographers for a reason – its unique lighting can transform ordinary scenes into extraordinary ones. By understanding the nuances of golden hour, planning your shoot, and using the right techniques, you can capture stunning photos that showcase the magic of this special time. Happy shooting during golden hour!


